
XBOX360 disassembly sequence
Any game console, after a certain period of operation, will need cleaning and revision. Despite the fact that there are simpler alternative methods and options for cleaning the console, nevertheless, an effective result can be achieved after its complete disassembly. Some users want to upgrade the console or upgrade it. Of course, you can rely on the help of professionals in this matter, however, if you have confidence in your abilities, why not try to do it yourself. Next, we will talk about how to disassemble the XBOX360 yourself and what tool will be needed for this.
Essential tool
To parse the XBOX360 game console, you will need a set of tools that repair cell phones. This set must include:
Screwdrivers
- Curly;
- Hex
- Flat, with the size of the "sting" - 2 ... 3 mm;
- Hexagon with a hole in the end - with a "secret";
- Tweezers;
- Awl.
shoulder blades
- Flat plastic; the size of the "sting" is 5 mm or more;
- Plastic curly or conical;
- Metal, for snaps and clips.
Technical knife
If you use a non-specialized tool in your work, this can cause breakdowns of latches on the set-top boxes, loss of appearance, failure of the faces of the fixing screws, which will cause additional difficulties during subsequent analysis.
Disassembly and assembly of the XBOX360
After all the tools have been prepared, you can begin to disassemble the XBOX360 game console.
Step number 1. Hard drive removal
The first step is to remove the hard drive (if any) or the dummy that replaces it.

1. HDD removal
Step number 2. Removing the bottom ventilation panel
Through the numerous openings of the casing of the console, latches and clips of the lower ventilation “grill” are visible - to remove the panel they should be slightly bent with an awl. The grill panel itself is pulled up.
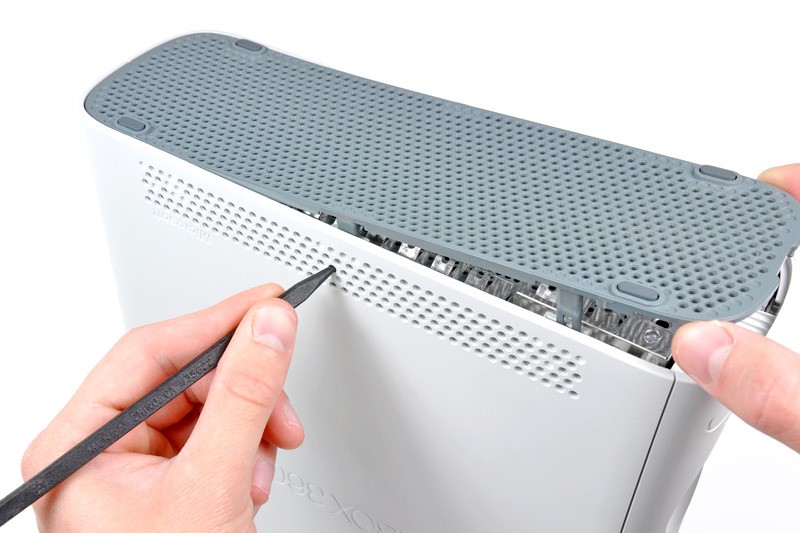
2. Removing the ventilation panel
After removing it, you can detect a large accumulation of dust. It can be removed with a vacuum cleaner or simply by blowing it well.
Step number 3. Front panel removal
Next, the front panel is removed. The USB connectors below have a slot for a spatula or screwdriver.
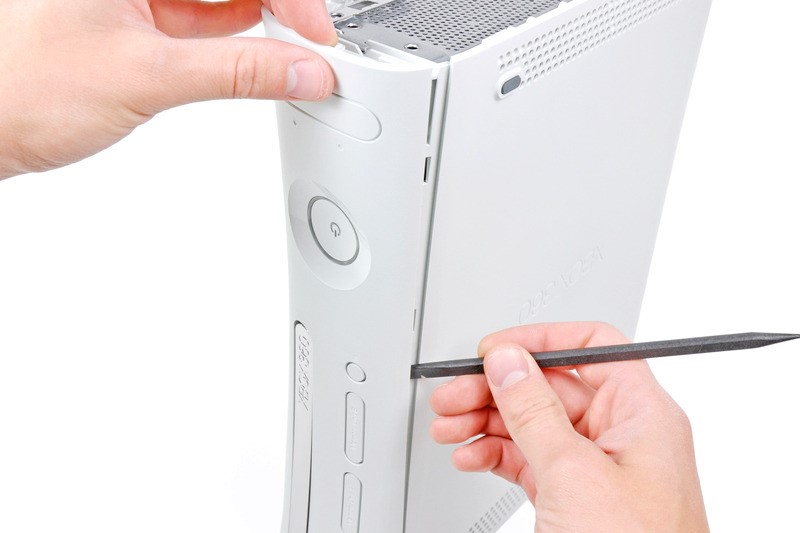
3. Removing the front panel
It should work carefully. Careless actions can damage the console. During this procedure, you should carefully ensure that the console cable is not damaged.
Step number 4. Removing a sticker
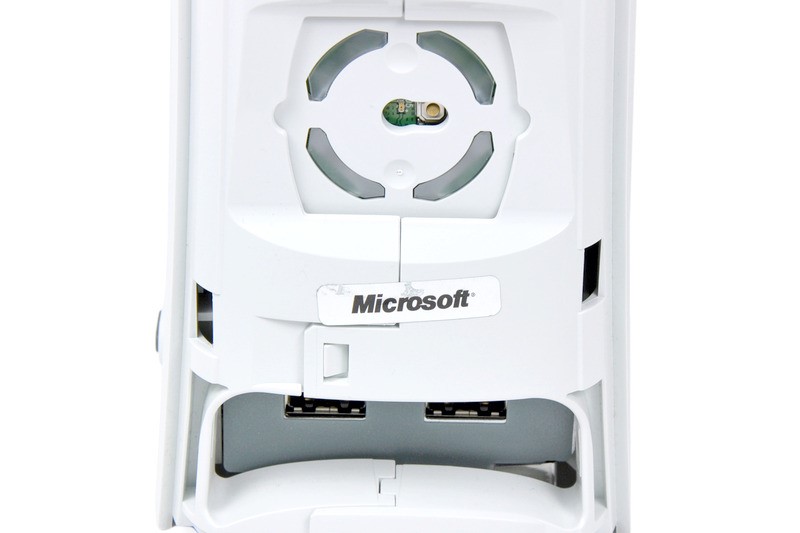
4. Removing company logo
By removing the front panel of the console, you can find a company sticker located at the junction of the halves of the case. It can be removed by slightly prying the tweezers or just cut it with a knife.
Step number 5. Removing the top ventilation panel
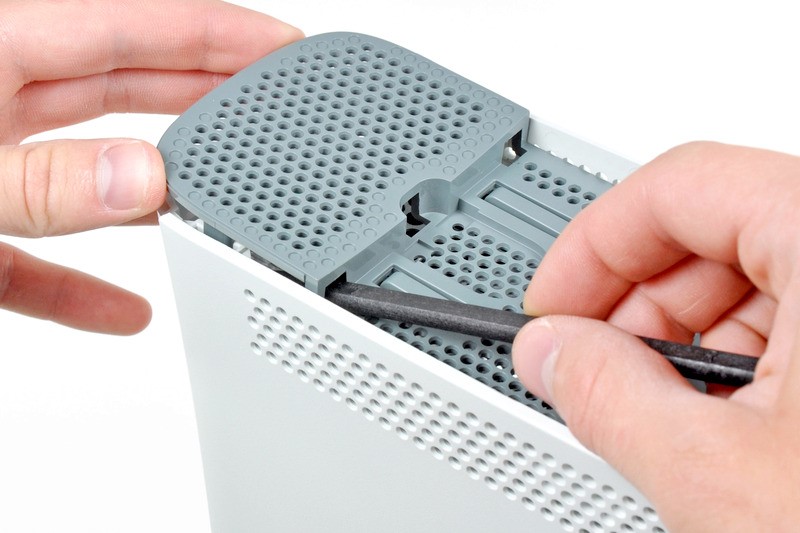
5. Removing the top panel
By analogy with the bottom panel, the upper housing cover is removed. Pressing the latches one at a time should gradually raise it.
Step number 6. Side panel removal
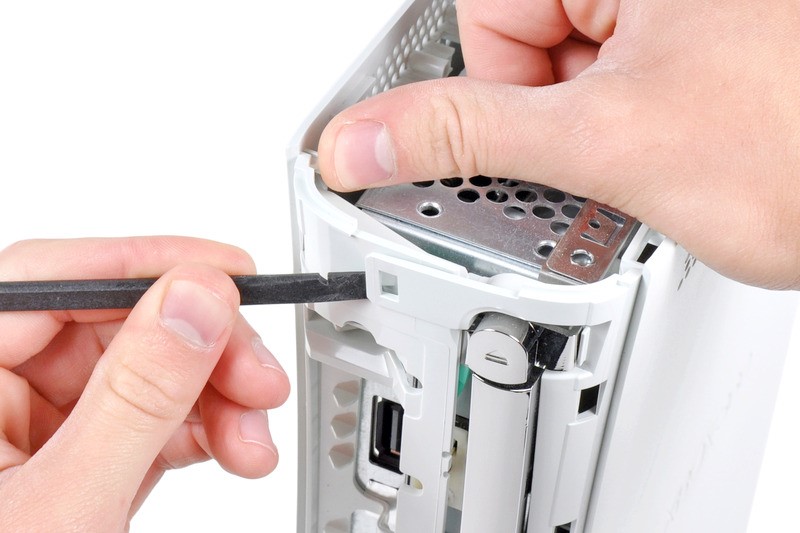
6. “Release” the sidebar
The side panel of the console can be removed in the same way as the lower and upper ones - by pressing on the “tabs” of the latches through the ventilation holes. After they are shifted, the XBOX360 body ladles can be easily disconnected from each other.
Step number 7. Drive power button
7. Removing the drive button
For greater convenience of further work, it will be necessary to disconnect the button to the drive. This can be done with a flat screwdriver.
Step number 8. Cover removal
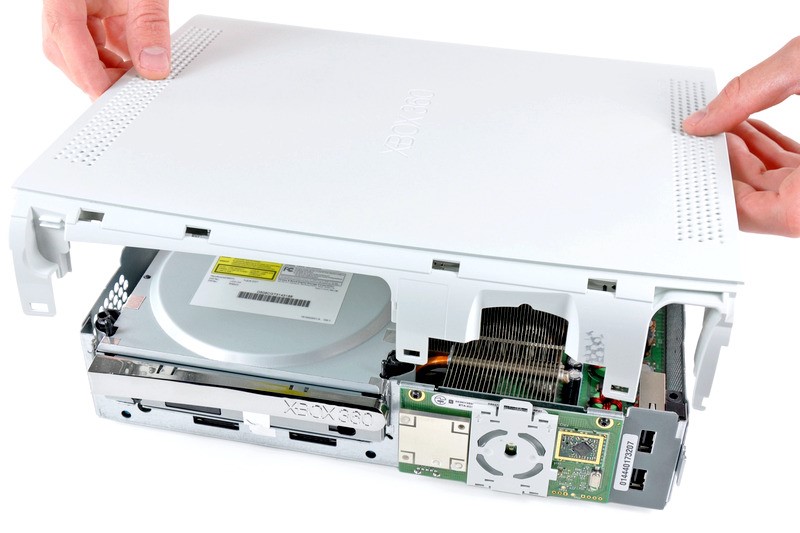
8. Removing the side cover
To access the motherboard, you need to unscrew the six screws on the cover, then turn the console over and remove the side cover.
Step number 9. Disconnecting cables
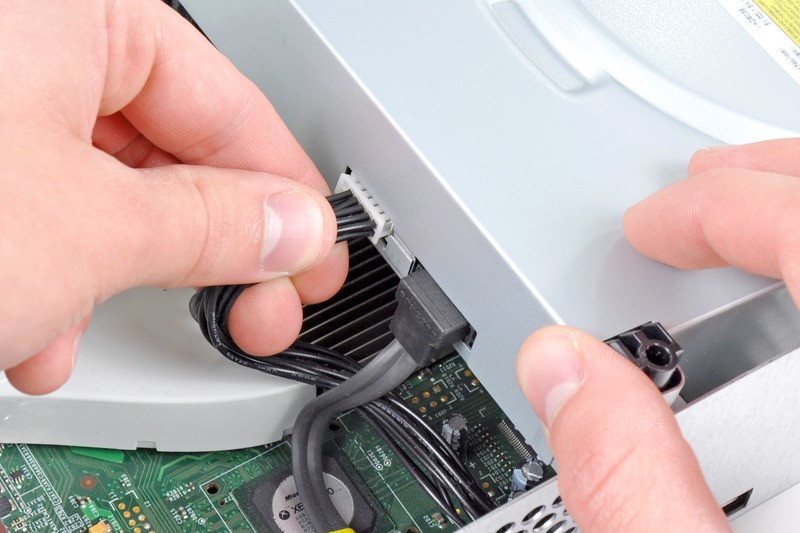
9. Disconnect the cable
Once access to the drive has been obtained, disconnect the DVD drive cables.
Do not pull strongly and sharply on the wires. You should take the entire "bundle" of wires with your fingers and do not pull much.
Step number 10. Drive disconnect
Now you can remove the drive. Here you can find another factory sticker. It should be removed.
Step number 11. Removing the power circuit board
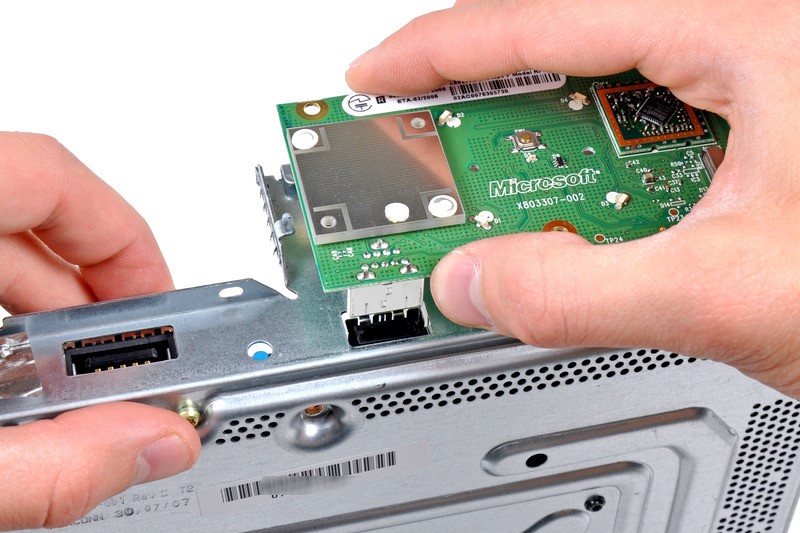
11. Removal of the inclusion board
The power-on board can be removed by unscrewing the three screws under the keypad.
Step number 12. Radiator removal
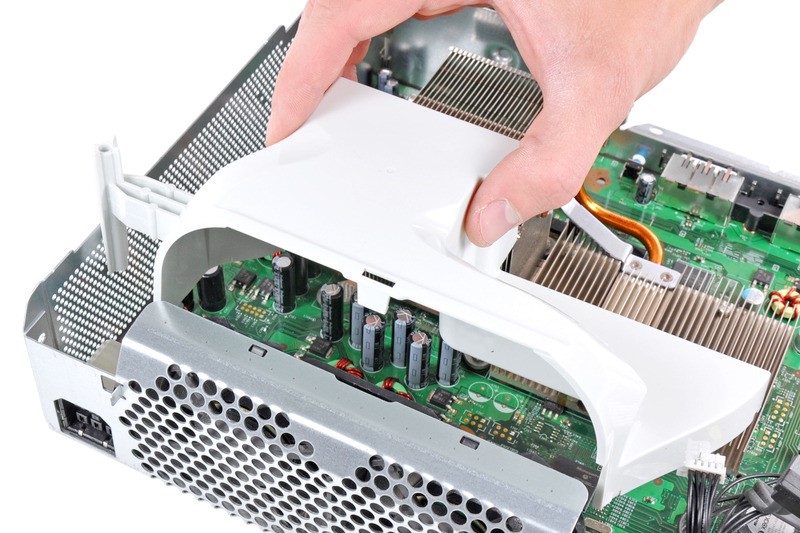
12. Disconnecting the cooling “camera”
In order to remove the radiator, it will be necessary to snap off the ventilation “chamber” of cooling and remove it. Then unscrew the eight screws of the video card and processor.
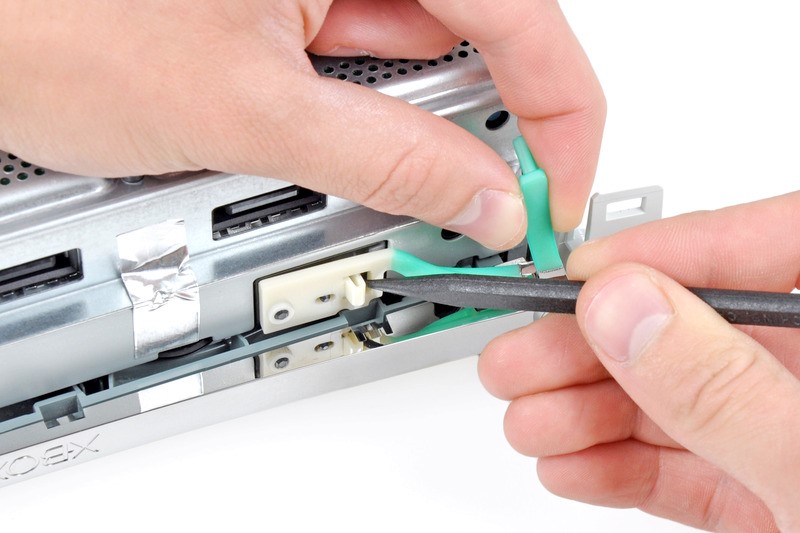
Step number 13. Disconnecting Fan Connectors
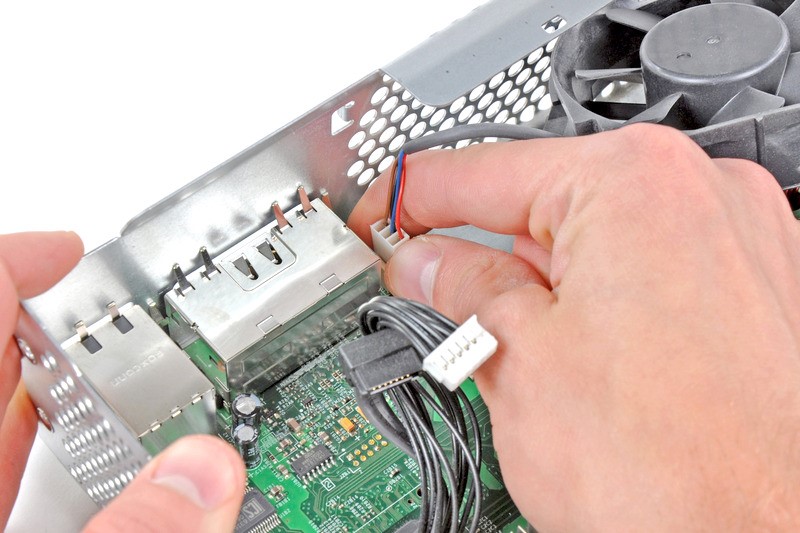
13. Disconnect fan power wires
It is most convenient to disconnect the fan connectors of the console using a metal spatula, slightly bending the mounting "antennae".
Step number 14. Motherboard removal
And finally, to remove the motherboard, you will need to unscrew the nine mounting screws on the metal case.
Done! XBOX360 is completely disassembled. Now he is completely ready for any cleaning or modification procedures.
Assembling a game console is carried out in reverse order.
Conclusion
Before proceeding with the analysis of the XBOX360 console, you should think again: is it really necessary to open your console at home, how can this affect its future work? Indeed, in the event of an unforeseen error, there is a chance that you can stay without it at all.